Transform a corner of your home into a mini butterfly sanctuary! Butterflies are fascinating creatures whose life cycle, from egg to caterpillar to chrysalis to adult, offers an unforgettable window into nature’s magic. With the right setup and care, you can raise your own butterflies at home and witness their transformation firsthand. We’ll walk through every step: choosing your kit, setting up the habitat, daily care, pupation, emergence, and release.
Let’s dive in!
1. Why Grow Butterflies at Home?
Watching the entire metamorphosis cycle is a hands-on way to connect with nature. Different butterfly species have varying needs. For beginners, Painted Ladies and Monarchs are favorites.
This is perfect for:
- Families & Classrooms: An engaging STEM activity.
- Gardeners: Boost pollination naturally.
- Nature Lovers: Observe close-up butterfly behaviors.
To simplify the process, Ready-made Butterfly Growing Kits take the guesswork out of species selection – each includes eggs or caterpillars, a food source, and a habitat container.
2. Choosing Your Butterfly Growing Kit
Clearwater Butterfly offers several kit sizes to fit your space and interest:
For example, the 10 Live Caterpillars to Grow Butterflies Kit includes live caterpillars, nutritious food, and an educational booklet.
3. Set Up Your Habitat
A proper habitat ensures healthy caterpillars and successful metamorphosis:
- Enclosure: Use the mesh or clear plastic container provided in your kit. This allows airflow and viewing.
- Feeding Platform: Line the bottom with a damp paper towel and fresh host leaves.
- Environment: Place in a warm spot (70–80°F) with indirect light, avoiding direct sun to prevent overheating.
Need more details? Check our FAQs for common setup questions.
4. Feeding and Daily Care for Your Caterpillars
- Larval Stage: Replace host plant leaves daily. Remove frass (caterpillar droppings) with a soft brush or paper towel to prevent mold.
- Chrysalis Stage: When caterpillars hang in a “J” shape, transfer them gently to the lid of the habitat so the chrysalis can form undisturbed.
- Adult Stage: Offer a shallow dish of sugar-water or fruit slices. Maintain humidity by misting the enclosure lightly.
5. Pupation: The Chrysalis Stage
As previously mentioned, when a caterpillar hangs in a “J” shape, it’s time to prepare. Within 7–14 days, your caterpillars will pupate. This stage lasts about 10–14 days:
- Relocation: Gently move it to the mesh lid so the chrysalis can hang freely.
- Climate: Maintain a stable temperature and avoid jostling the habitat.
- Duration: Expect about 10–14 days inside the chrysalis.
Tip: Keep the habitat out of direct sunlight to avoid overheating the chrysalis.
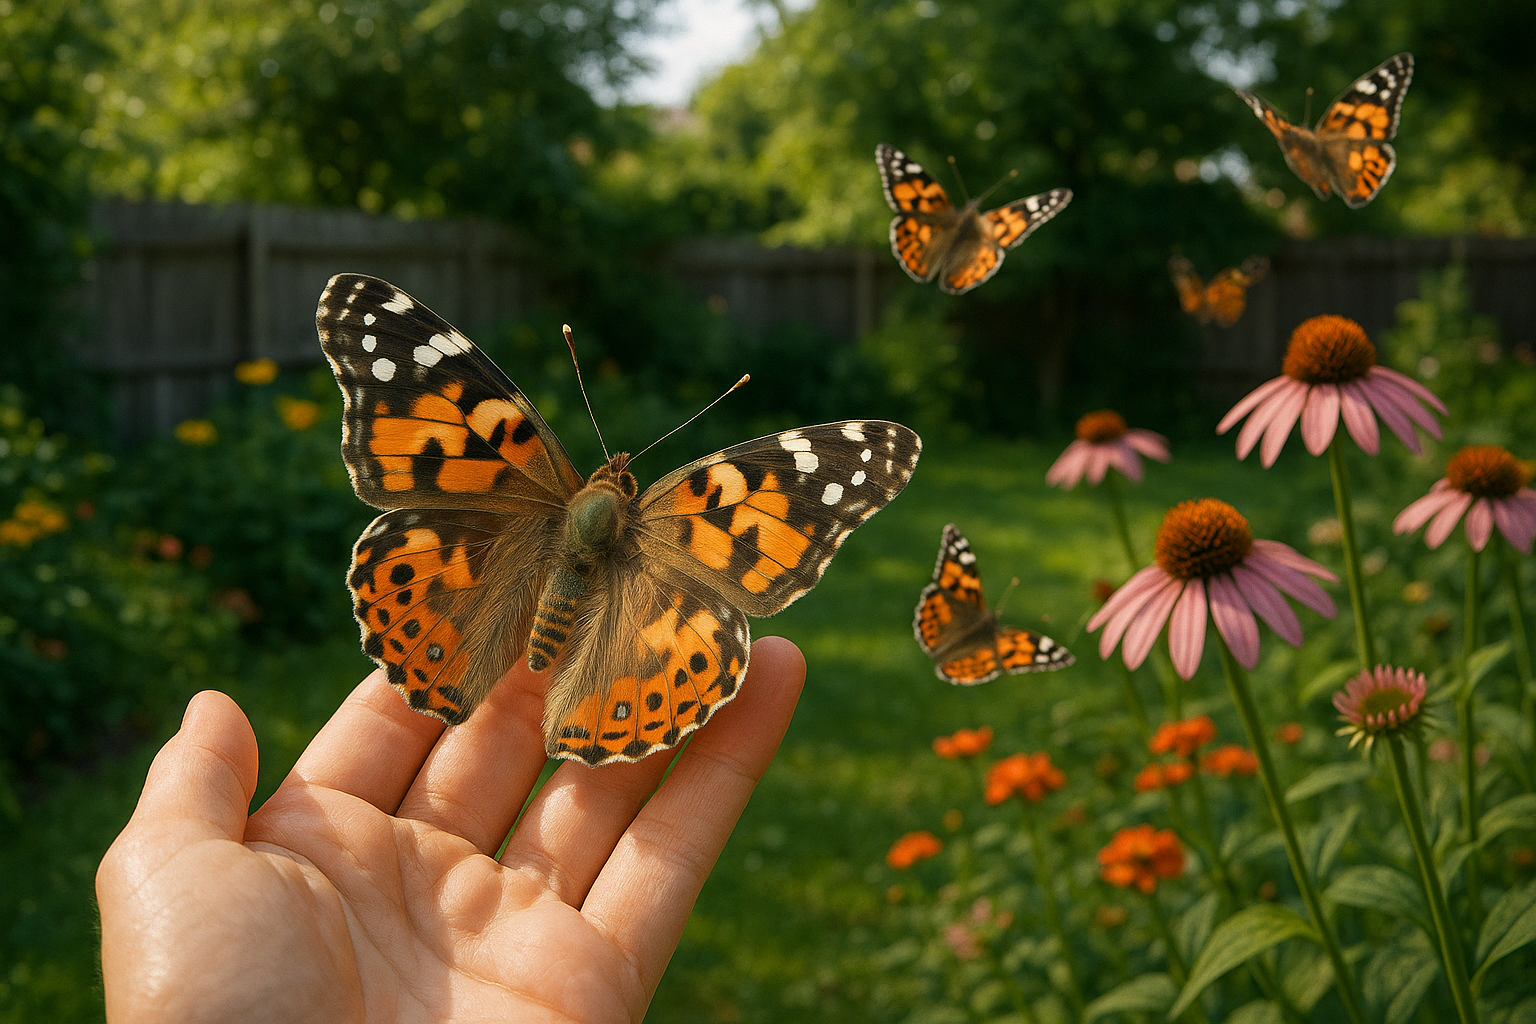
6. Emerging and Release
When the butterflies emerge, wings appear through the chrysalis casing:
- Wing Expansion: Leave your habitat undisturbed for 2–3 hours so wings can fully expand and harden.
- Feeding: Offer a shallow dish of sugar-water or slices of ripe fruit.
Choosing the right moment makes all the difference:
- Timing: Release during daylight hours, at least 2 hours before sunset. Butterflies won’t fly at night. No rain or strong winds.
- Temperature: Temperature above 60°F (Monarchs require at least 55°F; Painted Ladies need 60°F+)
Event Releases:
- Individual Release: Hand out single butterflies for a personal touch.
- Mass Release: Open a container for a dramatic group flight.
For step-by-step delivery and release instructions, visit our Butterfly Release Instructions page.
7. Celebrate & Share
Butterfly releases are perfect for:
- Weddings: Symbolize new beginnings, see ideas in “Unique Wedding Ceremony Ideas: 6 Unforgettable Trends”.
- Memorials: Honor loved ones with a gentle, beautiful farewell.
- Garden Parties: Add living décor that takes flight.
With the right kit and simple care, you can nurture caterpillars into butterflies and experience the wonder of metamorphosis at home. Happy growing and releasing!